Ingredients:
- pie shell
- 4 eggs
- 1/4 cup crème fraîche, heavy whipping cream, sour cream, etc.
- 1 big onion, sliced
- 1 pound ground beef
- chili powder
- 1 cup salsa
- cheese, such as pepper jack
First, make or acquire a pie shell. I make mine out of almond meal mixed with water, pressed into a pie pan and baked at 350 F until crisp. You could just get one of those frozen things if you’re not into making pie shells. Preheat your oven to 350 F if you’re not making the pie shell while making the chili mixture.
To make the chili mixture, start softening the onions in some butter or olive oil and a little salt over medium heat. You could throw in other vegetables, such as peppers. Add the ground beef when the vegetables are pretty soft. Add your chili powder – I use a mixture of ground cumin, oregano, paprika, and cayenne pepper. It’s up to you how much to use. If you want more color but not heat, add mild paprika. If moisture develops, increase the heat a bit and cook it away. Add the salsa when the ground beef is mostly cooked and cook away most of the moisture from that too. Taste the mixture and season as needed – add salt, hot sauce, black pepper, etc.
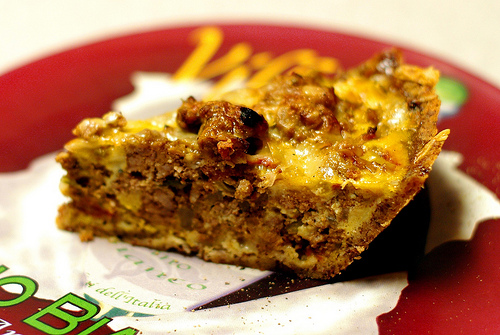
While you’re cooking the onions and beef, whisk together the eggs and sour cream. Grate some cheese into the bottom of the pie shell and pour in a little bit of the egg mixture. Add the chili mixture and egg mixture in layers with grated cheese, topping the whole thing with a final layer of cheese. Bake at 350 F for about an hour, but take a look at it after about 30 minutes to see how it’s going. When it’s done it should be fully set and the cheese should be golden brown.
Lazy tip: If you don’t have a pie crust and don’t want to make one, make a chili cheese frittata instead! Make the chili mixture as usual, but dump the egg mixture right in the pan once the liquid has cooked off. Stir it around a bit, top with cheese, and bake at around 400 F until it’s puffy and set. Let it rest a little while for easier removal if you used a stainless pan – if you’re lucky it’ll slide right out of your well-seasoned cast iron pan.

